Table of contents
- Encasing options
- Andrew Davie's 3D print shell
- bah's tutorial
- Labeling the PlusCart cartridge
- Additional hacks
Encasing options
For encasing the PlusCart PCB there are two possibilities:
Andrew Davie's 3D print shell
Andrew Davie has done a very nice 3D print shell for the PlusCart at thingiverse
bah's tutorial
Thanks to AtariAge user bah for this nice tutorial.
Tools:
- pair of sharp side cutters
- hobby knife
- and a donor atari game
Open up a donor game. You don't need the screw or old game board.
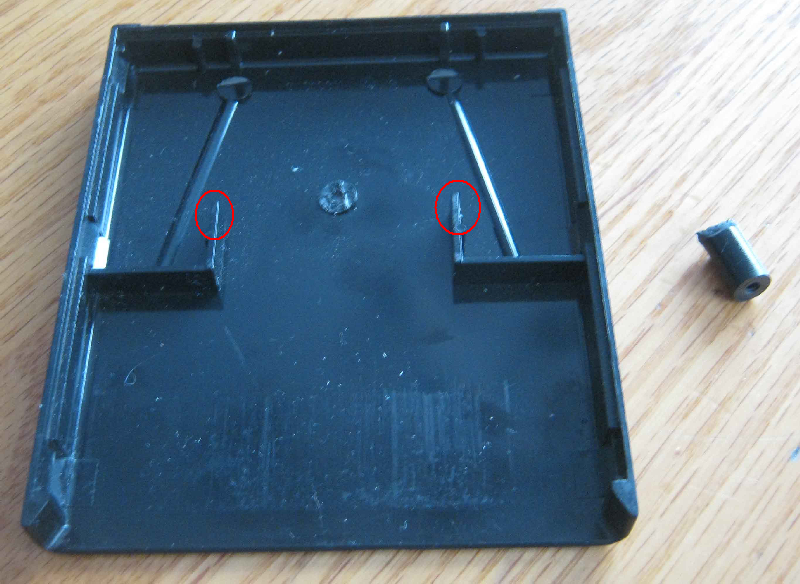
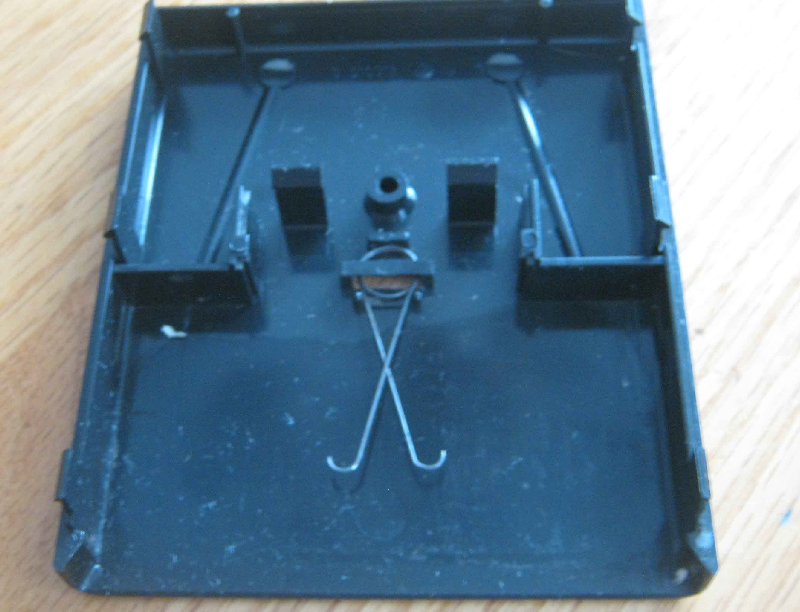
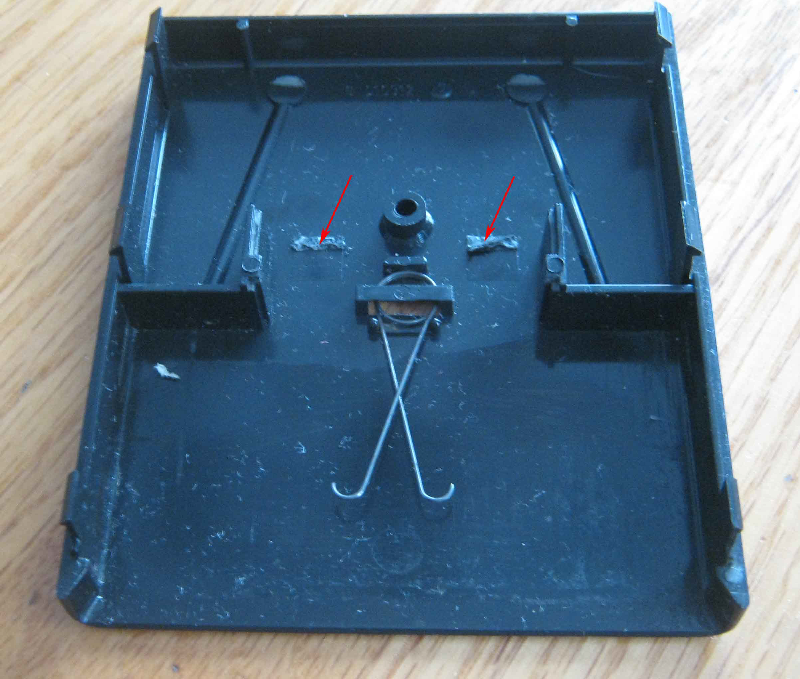
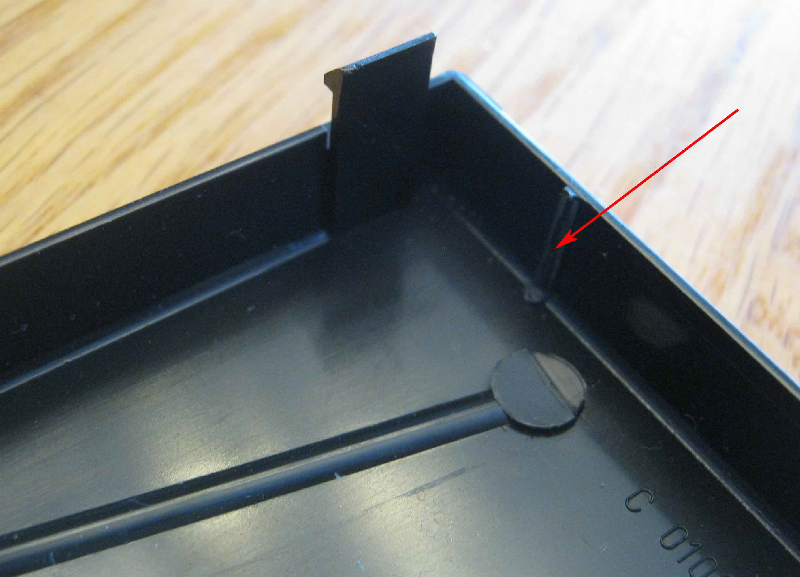
After cleaning up the cases, take the back case
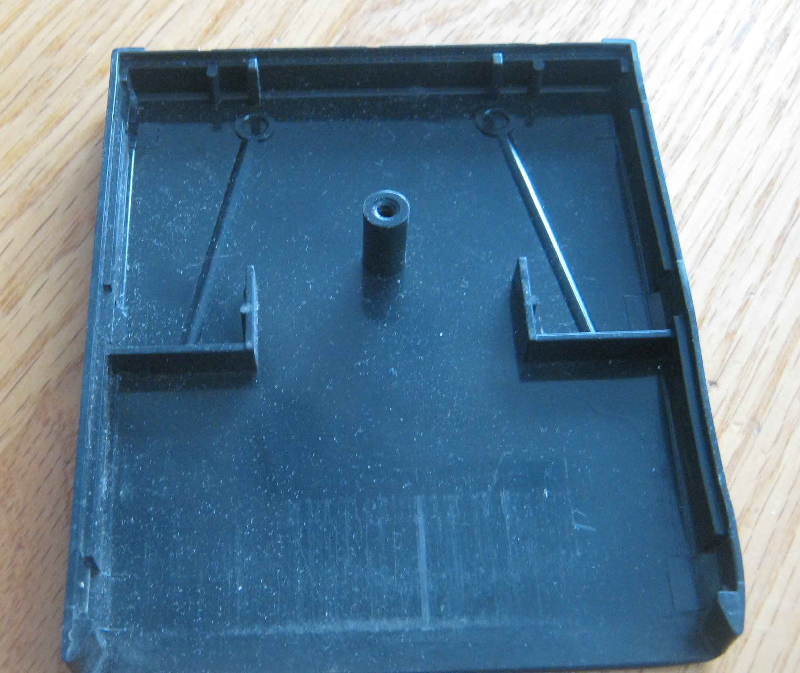
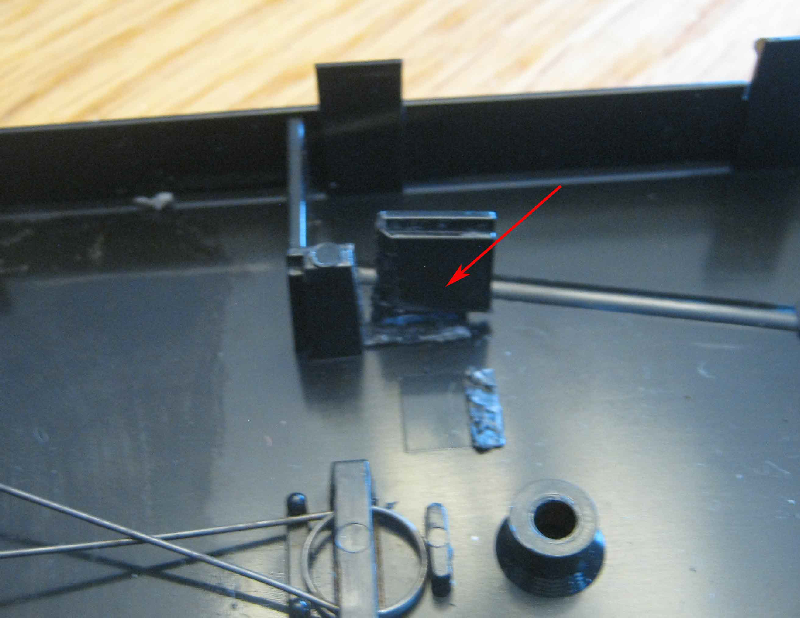
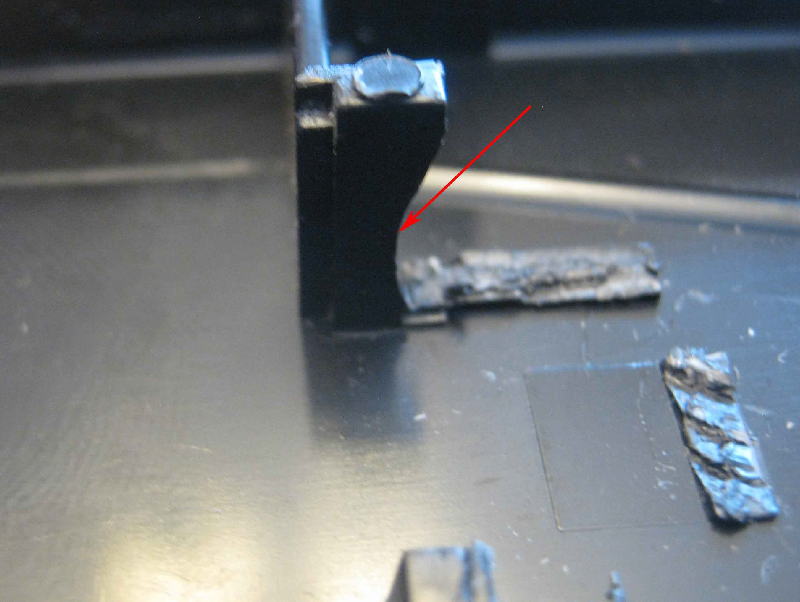
Cut off the screw post. And cut off half of the the walls (red circle), if the pinheader point to this side of the case.
Next take the front case
Remove both locking tabs
Cut out the upper side walls. Both sides.
You are not done yet, undercut those side walls. Both sides.
Cut off the 2 small walls at the top of the case, some cases don't have these.
Test fit your board and see if the notches fit, maybe more undercutting is needed
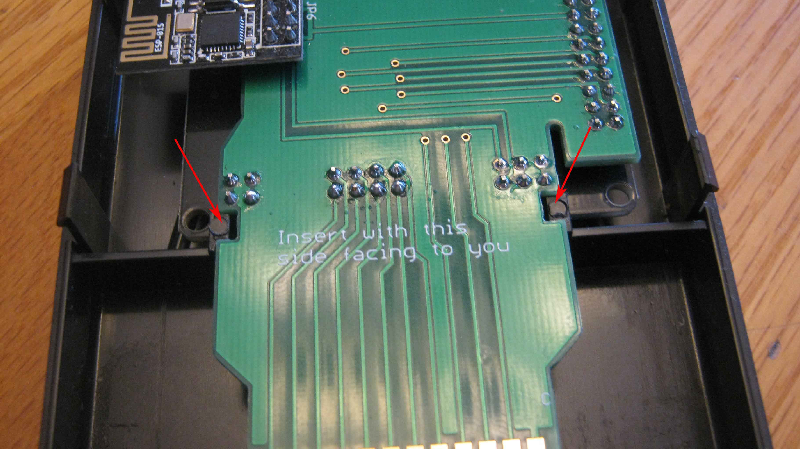
If it fits nice with minimal force, remove the board, assemble the dust cover and reinstall the board.
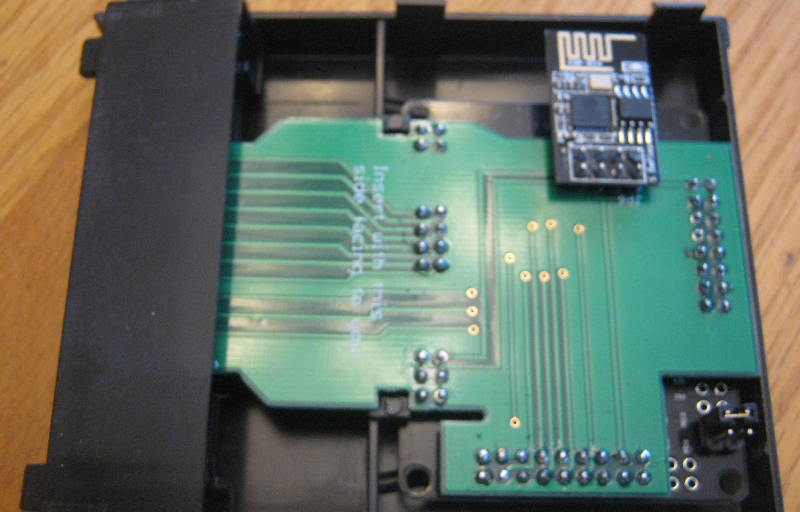
Snap on the back shell and see if both sides come together. Test it in your Atari.
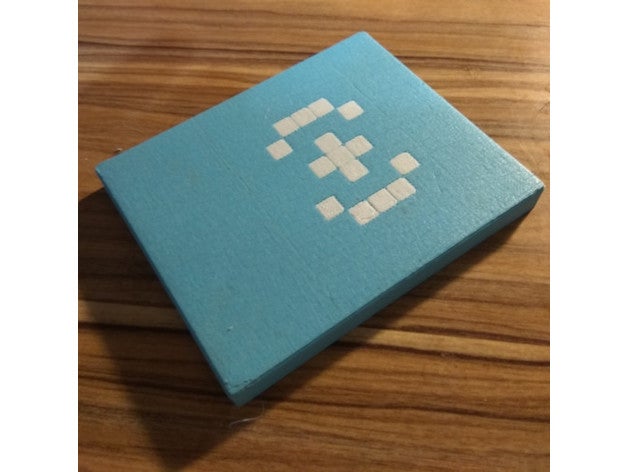
If everything fits good and operates, install your labels, DONE.
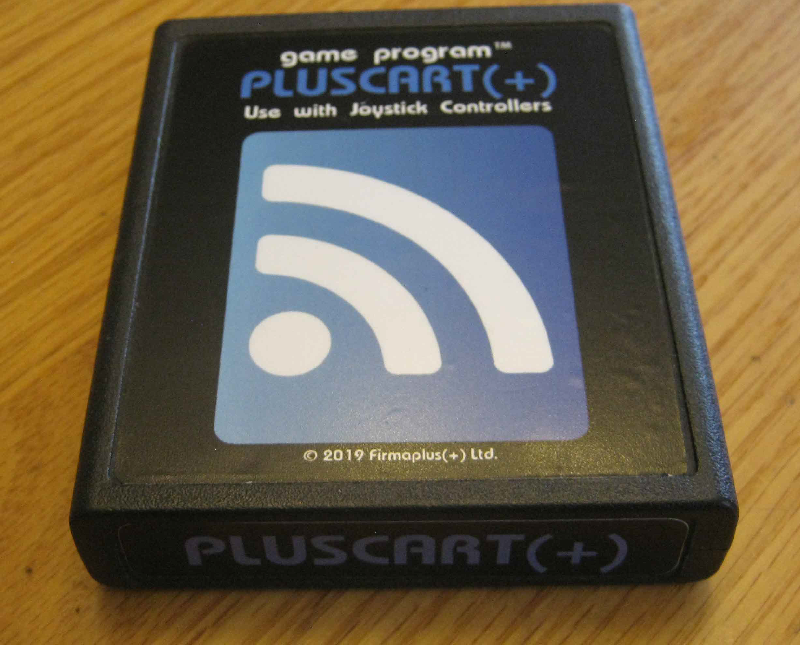
Labeling the PlusCart cartridge
There is an interesting post about labeling Atari cartridges in the AtariAge forum: Cleaning and Relabeling Atari Cartridges
The video from this post can be found at youtube:
Additional hacks
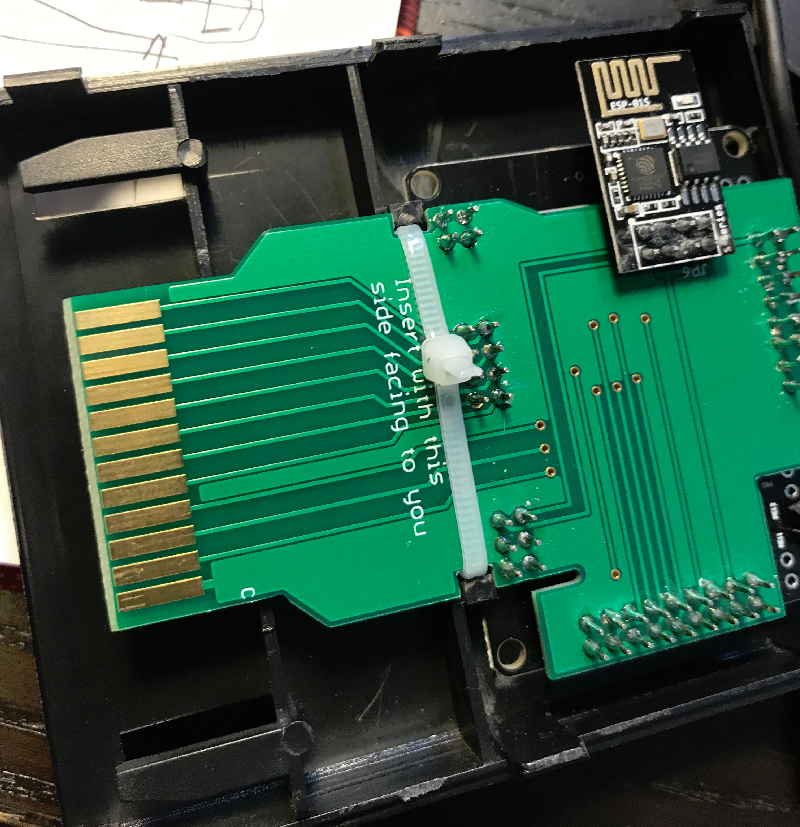
If you are using a 'red label' Atari cartridge for encasing the board. You might encounter some space between the notches and the board. A tie-wrap will prevent the board from wiggling sideways (see picture).
Thanks to AtariAge user Dionoid for this hack.